
In previous posts, I explored how to deploy and test Antrea on your laptop, Tanzu, OpenShift and GKE. The more I use Antrea, the more I come to appreciate it as a CNI Plugin that is high performance, feature rich and very easy to deploy and use. What makes me more exited about it, is that VMware is planning to integrate it with NSX-T to provide universal visibility and policy enforcement across multiple clusters, multiple platforms, and multiple clouds.
In this post I will explore deploying an EKS cluster with Antrea as a CNI plugin. Before writing this post, I had no experience in EKS, so let’s give it a go.
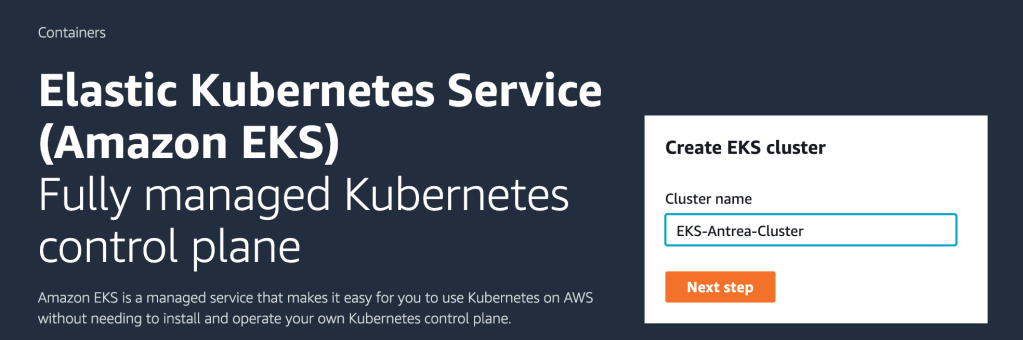
Deploying an EKS Cluster
Lets go to EKS Service in our AWS console and create a new EKS Cluster.
After that I left everything to the default values. if you don’t have EKS IAM Role, then you can follow this link to create one.
After the cluster is created, we need to install AWS CLI by following this link
Login to AWS and check our login info
aws configure
aws sts get-caller-identity
Login to our cluster by updating our kubeconfig
aws eks update-kubeconfig --name EKS-Antrea-ClusterDeploy Worker Nodes
In EKS, we need to deploy the Worker Nodes by creating a Node Group. Before doing that, we need to add an EKS node IAM role. We can do that by following this guide
After that , we can add Nodes Group to our cluster

I only gave it a name and picked my EKS Node IAM Role. I left everything else to the default values. After waiting for couple of minutes, we should be able to see our nodes

Deploy Antrea
First, We should apply antrea-eks-node-init.yaml before deploying Antrea. This will restart existing Pods (except those in host network), so that Antrea can also manage them (i.e. enforce NetworkPolicies on them) once it is installed.
kubectl apply -f https://raw.githubusercontent.com/antrea-io/antrea/main/build/yamls/antrea-eks-node-init.ymlDeploy Antrea
kubectl apply -f https://raw.githubusercontent.com/antrea-io/antrea/main/build/yamls/antrea-eks.ymlThat is it! now Antrea is our CNI Plugin for EKS!

We can start using K8s and Antrea Network Policies and advanced Antrea features such as TraceFlow.
Deploy Test Application
1. Create a new namespace for the app
kubectl create ns yelb
2. Deploy test application
kubectl apply -f https://raw.githubusercontent.com/aidrees/yelb/main/rest-review.yaml
3. View the status of the application and services, then access application using the External IP (URL in AWS case)

Get the URL using “kubectl get svc”

Test K8s Network Policy
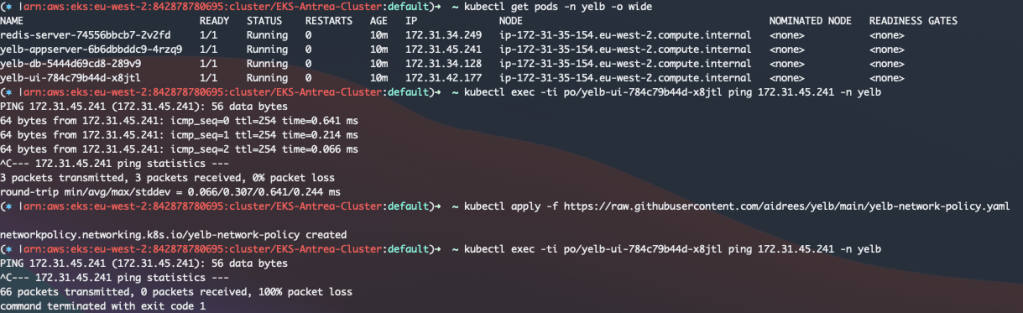
Let us apply a NetworkPolicy between yelb-ui and yelb-appserver
kubectl apply -f https://raw.githubusercontent.com/aidrees/yelb/main/yelb-network-policy.yaml
//yleb-network-policy.yaml

apiVersion: networking.k8s.io/v1
kind: NetworkPolicy
metadata:
  name: yelb-network-policy
  namespace: yelb
spec:
  podSelector:
    matchLabels:
      app:  yelb-appserver
  policyTypes:
  - Ingress
  ingress:
  - from:
    - podSelector:
        matchLabels:
          app: yelb-ui
    ports:
    - protocol: TCP
      port: 4567
Get the URL using “kubectl get svc”
You can see the ping working before the NetworkPollicy is applied, and stopped working after it is applied.
Now lets access Octant UI and try a TraceFlow with Antrea to make sure our NetworkPolicy blocked ICMP.
(Octant is a very nice Open Source K8s UI that I wrote about it in a previous post)
Below is two TraceFlow captures, one for ICMP (blocked) and another one for TCP 4567 (allowed)
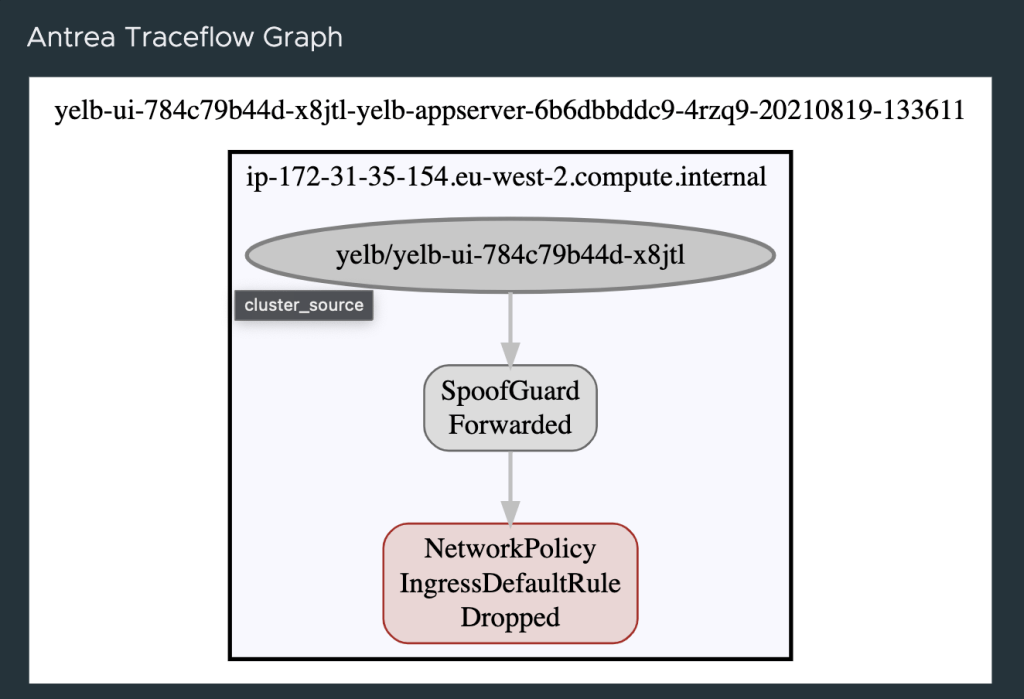

We can see that our NetworkPolicy is doing what is supposed to do.
In Conclusion, it was a straight forward and simple task to deploy Antrea on EKS. Now I can start using Antrea advanced functionality on EKS.
Thank you for reading!
